Step 1
Learn how to make a book in Adobe Photoshop, using just Photoshop no other 3D modeling program.
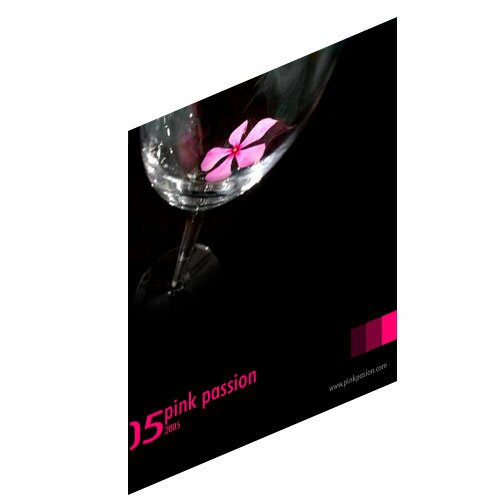
Create a new document in Adobe Photoshop with a white background. In the next steps we’ll make the front of the book. Save the next picture on your computer and open in Photoshop. Drag’n'drop it on the document:

Step 2
Resize it and draw a rectangle (with a black background color) below the layer which contains the picture. Delete an area at the bottom of the picture with a small brush like “Soft Rounded 80 pixels”. This is my result:

Step 3
What we can do now is to add some kind of elements on our book’s cover. We can add some kind of text or other graphic details:

Step 4
Now “link” all the elements which you draw. To do this step click on the boxes in the Layers Tab; like in the next picture:

Step 5
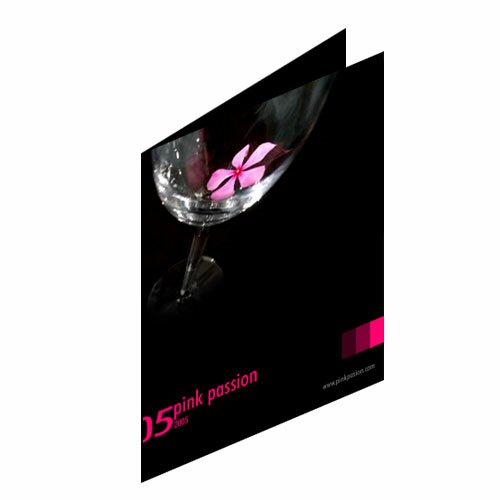
“Rasterize” the text elements: right click in the Layers Tab on the layer and choose Rasterize Layer. Now after you “rasterize” the text which contains text elements add perspective to your book: select Edit > Transform > Perspective. Drag the left margin down and you’ll obtain a result like this:

Step 6
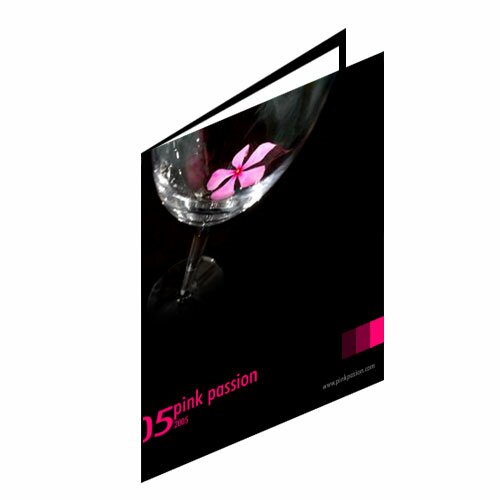
Above the layer “background” draw a rectangle with a black background color and add some perspective (a little bit more perspective because this is the back cover of our book):

Step 7
Duplicate the layer and add the “color overlay effect”. To do this step select the layer in the Layers Tab and then choose Layer > Layer Style > Color Overlay. Set the color to white and move it like in the next picture:

Step 8
Duplicate the layer again and move it again (now we create the pages of the book):

Step 9
Repeat the step again and the result should be something like this:

Step 10
Add other elements like illumination or background color, a little bit shadow and you can obtain a nice book with a minimal effort (you can draw a rectangle in the left side of the book and add perspective to make thicker):

Filed under Photoshop Tutorials

