Two fashion TV shows are Stargate SG-1 and Atlantis. The action goes around the stargate, so with this tutorial you will learn to make an animated stargate.
Step 1
Open a new document 400x400 pixel. Go to View – Show — Grid. This will help on the next steps. Take your Elliptical Marquee Tool and draw a circle. Make sure the background is white and make the circle white as well. Add a black stroke, width 2.
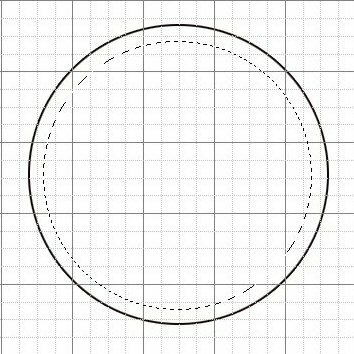
We have the first one, so with another layer opened it`s time for the second.

Do the same for the third, and you have finished with the circles.
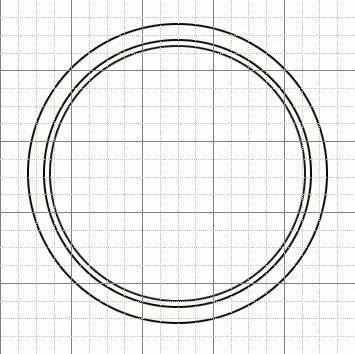
Step 2
Now with your Pencil Tool (B) draw the little lines along the circle. You can zoom a little and you will see that the grid will help a lot.

Step 3
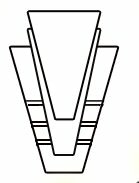
Now the sign inside the circles will be easy to draw. Select your Lasso Tool. Make the shape as you see in the image below and draw 3 lines. After this you should draw 2 more shapes over the first.

Step 4
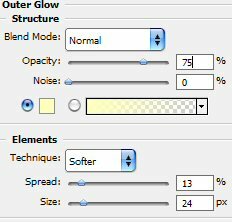
Draw 7 or 8 triangular along the circles and put them as in the picture. Make sure you fill them with yellow. Go to Layer – Layer Style – Outer Glow.
The Gate is ready, now is time to animate it.

Step 5 –The Animation Part
On your right Panel, at the bottom, you have a button that will send the picture to ImageReady. Hit it. Before you hit it, make sure you have selected the layer with the first light. Now you are in ImageReady.
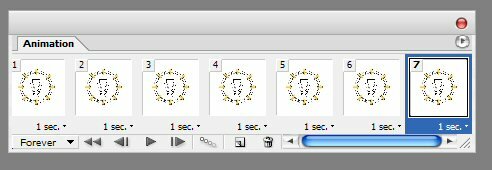
In the Animation Panel you have the first frame. Set the Delay to 1 sec.

You have a selection around the light that is selected. Go to the other layers and disable the outer glow. You do this by clicking on the eye.
Now make a new frame from the little arrow you have in the right up corner of the animation panel. Now you have a selection around the second light. Enable the outer glow of this one and disable the outer glow of the others. Do the same thing with the other lights.
Now go to File > Save Optimized As…
The final result is this.

VPS Hosting
High performance VPS hosting Romania. CPanel and Plesk available.
Filed under Photoshop Tutorials

