

This tutorial will show you how to quickly add motion to your images in a few easy steps.
First open your image.

Next thing, right click on the layer and choose “duplicate layer”. Now on the duplicated layer go to Filters > Blur > Motion blur. Set the angle to “0″. Choose the power according to the amount of “speed” you want your image to have. Now the image should look something like this:

Now, just pick the eraser and choose a large soft brush and erase the area I highlighted below:
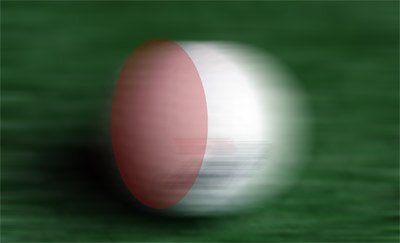
That’s it! The image should look something like this:

Filed under Photoshop Tutorials