Step 1
Create a new document in Adobe Photoshop. Draw a rectangle with the background color #B75804 and “rasterize” the layer which contains the rectangle. To “rasterize” the rectangle right click in the Layers Tab and choose Rasterize Layer:

Step 2
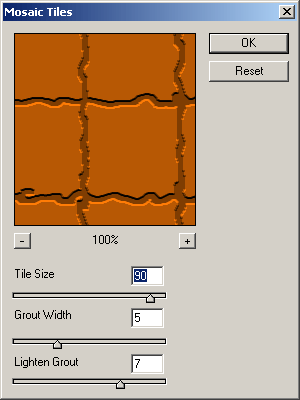
Add texture on the rectangle using Filter > Texture > Mosaic Tiles with the next settings:

And your result should be like this:

Step 3
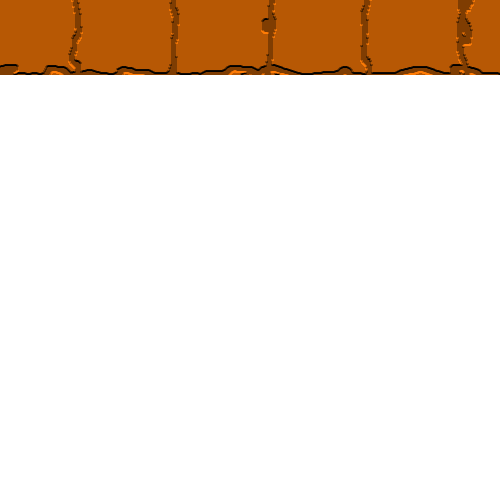
Now we make the wall more realistic. Delete an area like in the next picture:

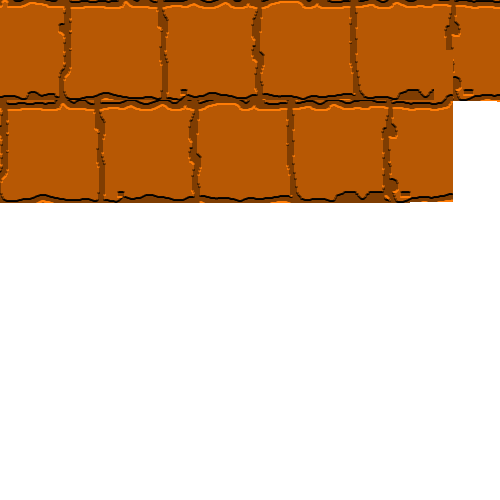
Duplicate the layer with the bricks and move it in the new position like here:

Duplicate the layer again and move it:

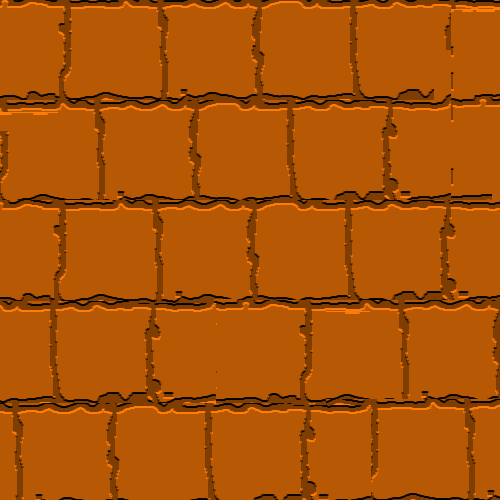
Duplicate it again and move it, and make the step again until you obtain a result like this:

Step 4
Create a new layer and draw a rectangle with a light grey background color. Set the “Blending mode for the layer” in the Layers Tab to “Color” and the “Opacity” to 60%. Now we have a wall of bricks:

Step 5
Now you should add some elements using nice brushes and color some kind of text, some graphic art. This is my result:

What I did next is: I chose a nice font and I typed the text. I added some kind of effect on the text using the Options Tab:

Then I chose the brush tool in the Tools Tab and I drew the background color using three different colors. I draw a graphic element (like spider web) and I’ve played with the effects on the text (“blending options for layer” in the Layers Tab).
Filed under Photoshop Tutorials

