Step 1
Save the next picture (initial-hand.gif) on your computer. You need it to complete this tutorial.

Step 2
Open a new flash document having the size 300x150 pixels.
Step 3
In Timeline Tab double click and rename layer1 to hand.
Step 4
Import in the main stage the picture initial-hand.gif, by using File > Import.
Step 5
Use Timeline Tab to create a new layer and rename it to text.
Step 6
In the first frame of the text layer, in stage, type text “asd” using a font close to handwriting. I chose “AdineKirnberg-Script” for this example.
Step 7
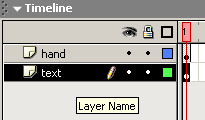
Reorder layers: hand layer before the text layer. The layers order should look like this:

Step 8
Before the text layer create a new layer and name it mask. Right click on the new layer and select the Mask option in the contextual menu.

Step 9
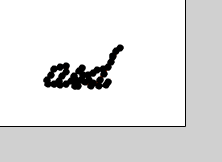
Using the Paint Brush Tool in the first frame of the mask layer, try to follow the text contour: just one point here, next key frame next point …). This will take a little time. Just follow the letters, like this:

Step 10
Place a new frame at frame 36 of the text layer and a new key frame at frame 2 of the mask layer:

Step 11
With the Artbrush selected continue text contour with another point:

Step 12
Repeat the steps 10 and 11. You should get something like this:

Step 13
Ok. Now the hand animation.
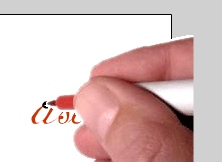
Select the first frame of the hand layer. Place the crayon on first point of the mask:


Step 14
Then a new key frame on the frame 2 of the hand layer and move the crayon on the next mask point.
Step 15
Repeat step 14 with a new key frame. Move the crayon key frame, by key frame to the final point of hand mask:


And we’re done. You can even see how the hand is raised from the paper ![]() :
:
Filed under Flash Tutorials

