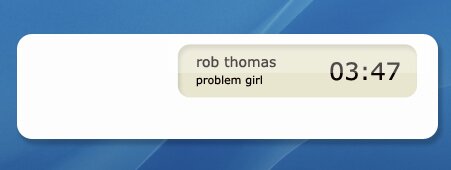
Step 1
Open new document 500x300 pixels. Choose as background color a dark color or anything else but not white or light colors. Make a new layer and with your Rounded Rectangular Tool draw a rectangular and fill it up with white.

Add some shadow by going to Layer->Layer Style->Drop Shadow and setting everything like in the image.

Step 2
Make a new layer. Set the foreground color to #e8e6cf. In the upper right corner, not to close to the edge, draw a rectangular. Because the foreground is that light yellow, the rectangular will have the same color.

Go to Layer->Layer Style->Inner Shadow to add some shadow to the new rectangular. Set everything like in the image.

To add some glassy effect, open another layer. With the Rectangular Marquee Tool draw a rectangular over the upper half of the yellow rectangular. Fill it with white and set the opacity to 29%. Now add some text.

Step 3
Open a new layer. With your Elliptical Marquee Tool draw a circle in the left side of the remote (that is empty). Fill it up with Gradient. Use #f5f5f5 and #ebecee.

To look like a button, add some shadow. Layer->Layer Style->Drop Shadow.

The remote is done. The final result should look like this.

Filed under Photoshop Tutorials

