Step1
Learn to design a website in Adobe Photoshop, slice the “psd” file and implement it in html using Macromedia Dreamweaver.
First take a look over the “psd” file:
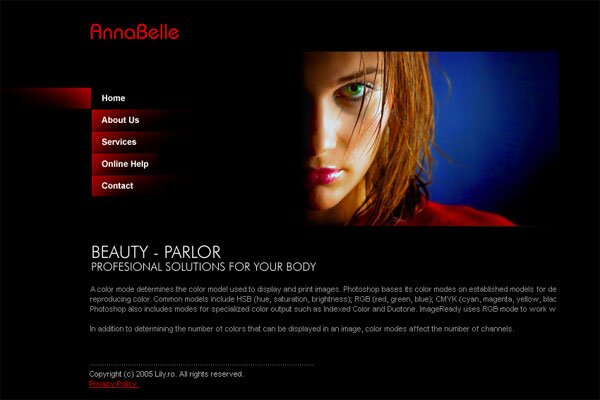
Save next picture on computer. Need it in this tutorial:

Step2
Let’s begin ![]() . Open a new file in Adobe Photoshop with a black background. Import the picture in your document and place it like this:
. Open a new file in Adobe Photoshop with a black background. Import the picture in your document and place it like this:

Step3
New layer in the Layers Tab and place the logo in the top left corner. I chose “AnnaBelle” as logotype:

Step4
Create a new layer and type the site content on the same vertical line with the site logo. Choose what font you want. I used “Futura Light 24px,16px” and “Arial 11px”. It should look like this:

Step5
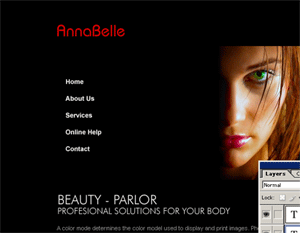
Ok. Now the navigation: type the name of the buttons with “Arial Bold 12px” like this:
Step6
Create the buttons’ background. New layer (down the layer buttons):

Right click on layer and select Rasterize Layer
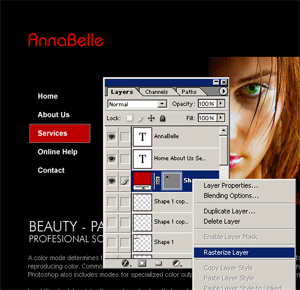
With Brush Toll selected, delete an area like this:

Duplicate layer and move it for any button. The result should be like this:

Now select layer background that’s behind the “home” button and Edit>Transform > Flip Horizontal and move it like this:

Step7
Now you have a layout for your site:

Step8
In the next part we’ll prepare the “psd” for html implementation. We slice the “psd” file. Take a look in the next picture and you can see what parts of layout interests us:

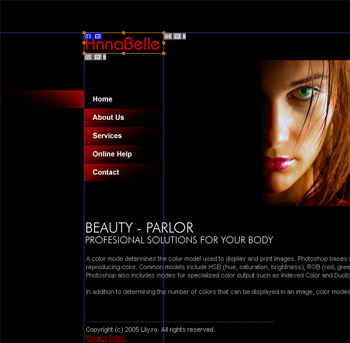
For the rest of the site content we’ll use HTML and CSS in Dreamweaver. Now we can cut the images we need for the HTML implementation. Select the Slice Tool and trace a contour like this:
Step9
Continue with the next zone and the result should be like this:

Step10
File > Save For Web and for every slice set the slice settings:

For the slices that need a higher quality, set “jpeg – high resolution” and for the rest, set settings “gif”. Do this for every slice in your layout:


Quick Tip: To get the best image quality/file size ratio, export an image in GIF format whenever it has a few colors and/or close shades and export as JPEG when there are a lot of different colors in the picture.
Step11
After you configure the settings for every slice, and select all your slices (SHIFT+CLICK), choose Save and configure the save settings like this: Save as Type: “Images Only(.jpg)”, Settings: “Default Settings”, Slices: “Selected Slices”:

That’s all. You sliced your “psd” file. Open the folder where you saved the pictures and rename them like this: “site_03.gif” to “logo.gif”, “site_07.jpg” to “girl-top.jpg”, “site_10.gif” to “active-page.gif”, “site_11.gif” to “home.gif”, “site_13.gif” to “us.gif”, “site_14.gif” to “services.gif”, “site_15.gif” to “help.gif”, “site_16.gif” to “contact.gif”, “site_19.gif” to “beauty-txt.gif”, “site_22.gif” to “bottom.gif”.
You have now the pictures for your site. In the next steps you’ll do the implementation in HTML using Macromedia Dreamweaver MX 2004.
Step12
Open a new html document in Dreamweaver. In the Layout Tab select the Layout Table Tool:

Step13
Draw a table like in the next picture:

Step14
Choose Draw Layout Cell in the Layout Tab and draw a cell table:

Step15
Next draw another layout cell:

Step16
Click inside in this cell and choose Insert > Image and select your image folder. Choose “logo.gif” picture and click OK.
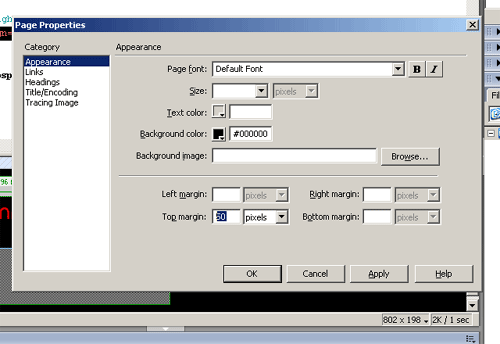
Set your background page to black Modify > Page Properties, Background Color. Set the Top Margin to “50 pixels”:
Step17
Click on the table and change its size, then insert a new row:

Step 18
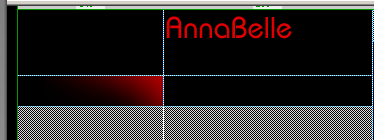
Inside this row insert the “active-page.gif” picture and adjust the row, set the row horizontal alignment in the Properties Tab to ”right” like here:
Step 19
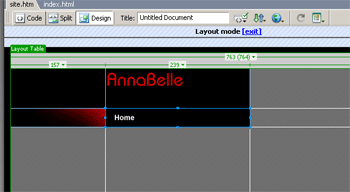
Another cell box and insert the “home.gif” picture:
Step 20
Continue to add new cells and rows for all your pictures:

Step 21
Now insert a nice text in middle site section. Set the text size, color, etc.

Step 22
Select each button and on Properties Tab enter the in the link field “#link” and you have a very simple site made by you.
Filed under Photoshop Tutorials, Dreamweaver Tutorials

