Step 1
Create a new document in Adobe Photoshop with a white background and the size 400X200 pixels. Type a text in your document with a big font size. I chose “metallictext”:

Step 2
Duplicate the layer which contains the text. To do this, right click on the layer in the Layers Tab and choose Duplicate Layer. Now we have 3 layers: the layer “background”, the layer “metallictext” and “metallictext copy”. Select the layer “metallictext copy” and set the text color to white. To set the color to white click on the text icon in the Tools Tab:
![]()
In the Options Tab click on the text color icon and choose the white color for your text in the window which appears:
![]()
Ok. Your text should look something like this:

Step 3
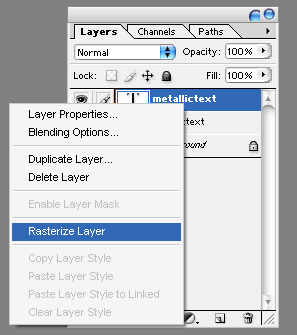
“Rasterize” the layer “metallictext copy”. Select the layer in the Layers Tab, right click and choose Rasterize Layer:

Step 4
On the layer “metallictext copy” make a selection, using the Rectangular Marquee Tool (you can find this tool in the Tools Tab), like in the next picture:

Step 5
Select Select > Feather. In the window which appears set the feather radius to 20 pixels:

Now delete the selected area using the DELETE key and move up the “metallictext copy” layer with 2 or 3 pixels . This is my result and yours should be something like this:

Step 6
Select the layer “metallic text” and add stroke effect to this layer. To do this choose Layer > Layer Style > Stroke and set, for the stroke color, a light grey:

Step 7
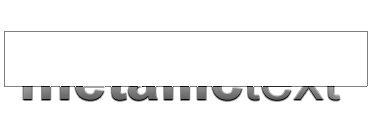
Above the layer “metallictext copy” draw a rectangle with a white background color like this:

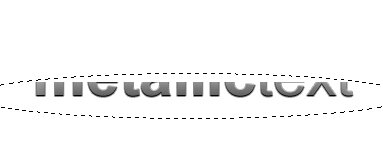
“Rasterie” the rectangle and select an area like in the next picture, using the Elliptical Marquee Tool(find his tool in the Tools Tab):

Delete the selected area and set the opacity, for this layer, to 20% in the Layers Tab:

Filed under Photoshop Tutorials, Text Effects Tutorials

