Step 1
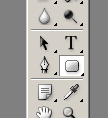
Create a new document in Adobe Photoshop having 779x600 pixels. Select Rounded Rectangle Tool in your Tools Tab:

and draw a rounded rectangle the Photoshop document and set the color of your rectangle to #FFFFF (double click on “layer thumbnail” and choose color):

Step 2
Now, to rasterize the layer right click and select Rasterize Layer like this:

Step 3
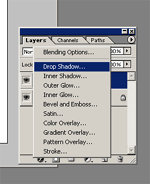
Select Tools Tab and click on Add Layer Style and Drop Shadow to add shadow to you rectangle:

Set distance to 1% (in the shadow window setup) and click “OK”.
Step 4
In Tools Tab select Rectangular Marquee Tool(M) and draw a contour like in the next picture, and Select > Modify > Smooth:

Delete your selection. Add a new color to you rectangle (#FF0000) or what color you want.
Step 5
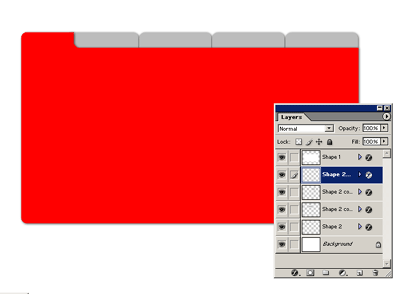
Up to “background” layer insert a new layer and draw a little rounded rectangle, set the color and drop shadow. Something like this:

Step 6
Right click on your new layer and duplicate it. Move it to the next position. Do it again with another new layer and another one, like this:

Step 7
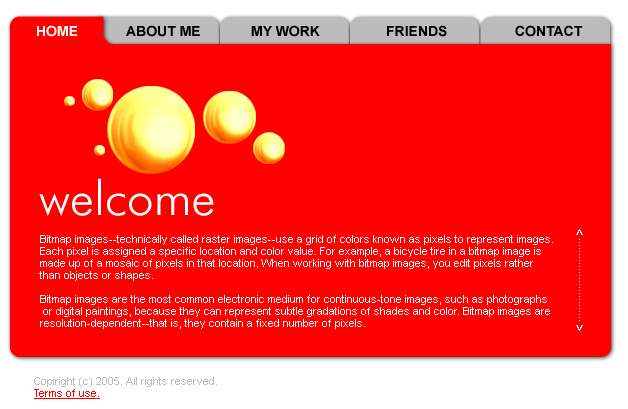
Add some kind of information to your layout like the text button and some content for the site and you have a trendy site layout:

Filed under Photoshop Tutorials

