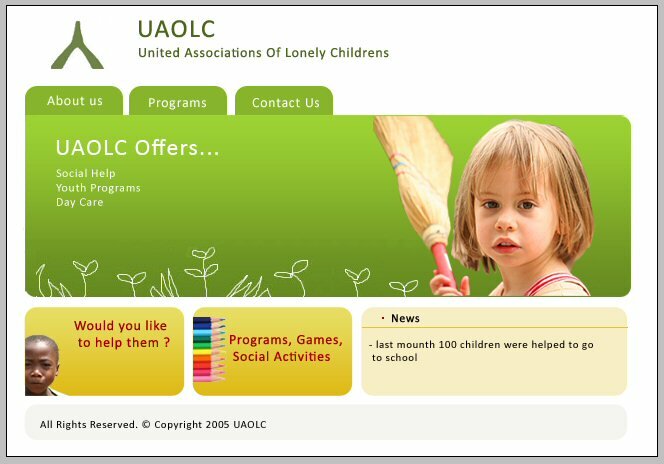
This tutorial will teach you to make a simple, colorful design. The multiple boxes will divide the information very well. You can use the colors for importance.
Step 1
Open a new document in Adobe Photoshop of about 650x500 pixel. Fill it up with white. With your Rounded Rectangular Tool draw a rectangular. Go to Layer > Layer Style > Gradient Overlay. Here set it just like below and make sure you check the “reverse” box.

Now to make those little flowers and grass. You take your Lasso Tool and start drawing flowers and leaves shapes. This is with what I came up with. They don`t have to be perfect and just need to look like some.

This is the picture I choose for the header, you can use anything you like.

For the menu, make a new document, draw in it a small rounded rectangular and fill it with the same green you ended the header of. Now cut it in two and drag and drop the parts on the website. I only have 3 buttons, but you can have as many as you like.

The header is done. So Ctrl+Right click on every layer, without the first layer and Merge Layers.
Step 2
For the text above use the following color (#708348). The title should be bigger and with “bold” or “strong” and the subtitle should be smaller and not ”strong”.

Step 3
Now the structure is ready. Depends on what theme will you pick for the website. Mine is a non-profit organization that is helping children. In the Box below you should add info and because of the colors you can divide it in sections.
Step 4
Now add the text and anything else you like and the layout is ready. Mine looks like this.

Filed under Photoshop Tutorials

