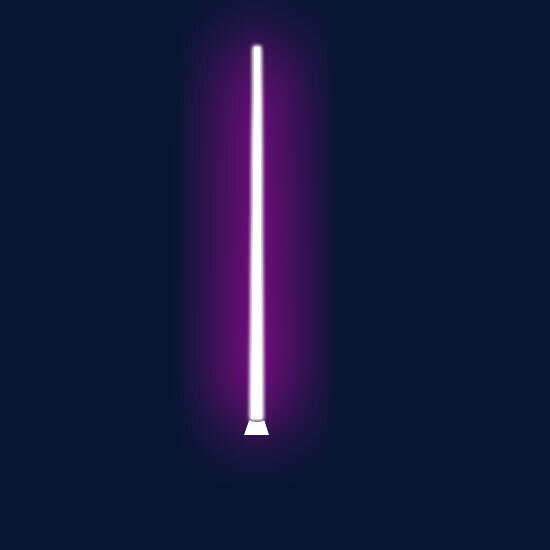
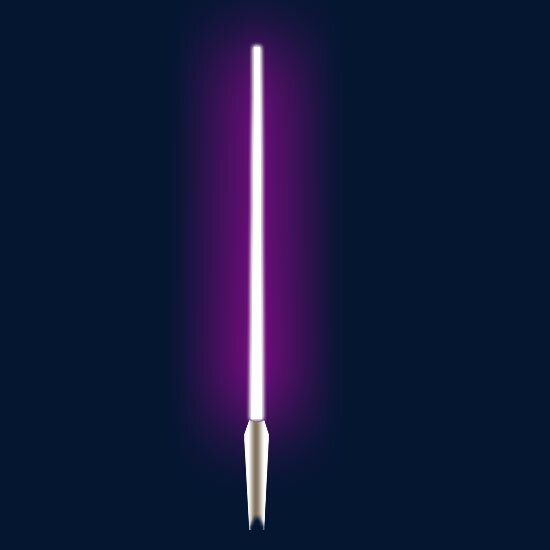
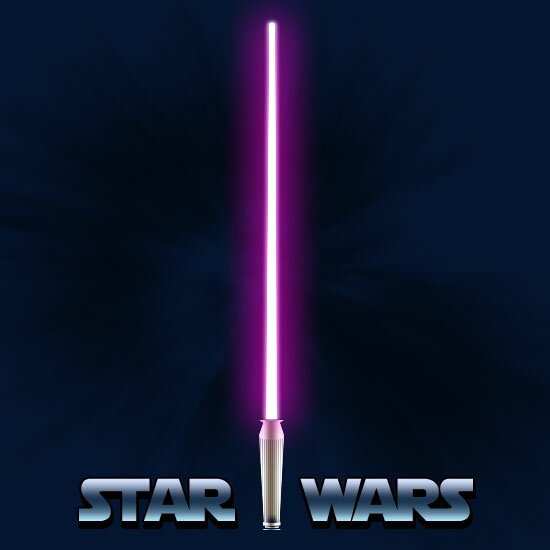
In this tutorial you’ll lear how to draw a Star Wars jedi knight sword with Adobe Photoshop.
Step 1
Create a new Adobe Photoshop document with the size 550x550 pixels and a dark blue background color. Using the Rectangle Tool (you can find this tool in the Tools Tab) draw a rectangle with white color like here:

Step 2
Adjust the rectangle form using Edit > Transform > Distort. If you are careful you should obtain a result like me:

Step 3
Add a glow effect on the rectangle. To do this step select Layer > Layer Style > Outer Glow and use the next settings when applying this effect:

And your result should be this:

Step 4
Duplicate the layer “shape1”. Move the new layer below the layer “shape1” and add the outer glow effect. Use this time the next settings when apply the outer glow effect:

And another intermediary result:

Step 5
What we’ll do now is make the sword’s handle. Above the layer “shape1” draw a little rectangle like in the next picture:

“Rasterize” the rectangle and distort the scale. To do this select Edit > Transform > Perspective and drag the left up corner to the center until you obtain a result like this:

Step 6
With Elliptical Marquee Tool (you can find this tool in the Tools Tab) delete an area like here:

And the result:

Step 7
Add the gradient effect to the distorted rectangle with the settings:

And another intermediary result:

Step 8
Duplicate the layer “shape2” and flip it vertically: Edit > Transform > Flip Vertical. Resize it like in the next picture:

Step 9
Move the layer “shape1 copy” above all the layers in the Layers Tab and add some kind of line of the sword’s handle and other elements like here:

Filed under Photoshop Tutorials

