Step 1
Create a new document in Adobe Photoshop with a white background and the size 600x200 pixels.
Draw a rounded rectangle using the Rounded Rectangle Tool. If you don’t know where this tool is, check the Tools Tab:

Step 2
Now we’ll add a lot of effects on our bar to make it cool ![]() .
.
First we add the “drop shadow” effect. To do this, select Layer > Layer Style > Drop Shadow and set the settings for this effect like in the next picture:

And an intermediary result:

Step 3
Apply the “inner shadow” effect selecting the Layer > Layer Style > Inner Shadow, and use the next settings when applying this effect:
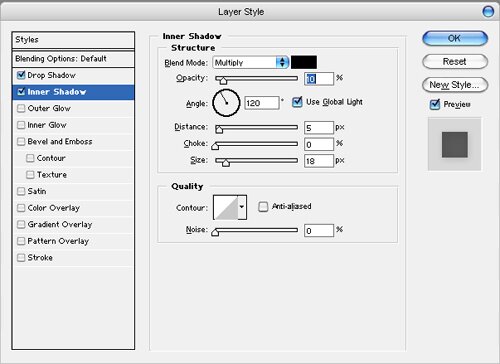
And another intermediary result:

Step 4
Duplicate the layer (right click on the layer in the Layers Tab and choose Duplicate Layer). Set the “Blending mode for layer” to “Color Burn”, and your result should be something like this:

Step 5
Now add your menu items with a nice text and a dark blue color. This is which I used for the menu options:
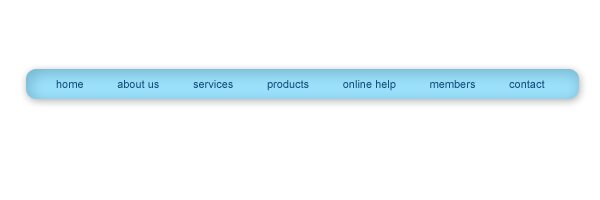
Step 6
Duplicate the layer which contains the menu options. Select the layer which you duplicate and move it down two pixels and set the “Blending mode for the layer” to “Linear Doge”. If you make this step correctly your result should be like this:

Step 7
In the Tools Tab select the Line Tool and draw a small line to make the menu separators:
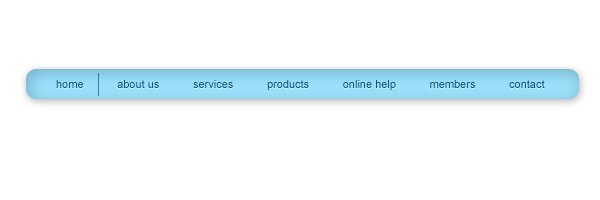
Duplicate the layer and set the color of the line to a very light blue. Move the new line one pixel on the right, and that’s the result:
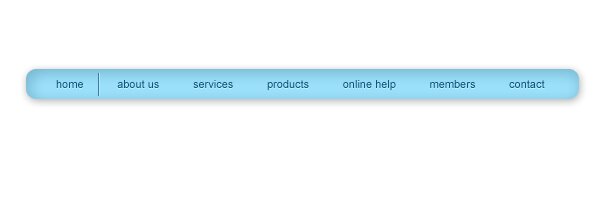
Step 8
Repeat the step 7 to complete all the menu separators. After these steps your result should be this:

Step 9
Now draw a rounded rectangle above all layers. To make this select the Rounded Rectangle Tool in the Tools Tab and make a rectangle like here:

Set the opacity of the layer to 30%, in the Layers Tab, and you have a nice menu bar for navigation on your site:

Filed under Photoshop Tutorials

