Step 1
Create a new document in Adobe Photoshop with a white background. Import the next picture in this document (save it first on your computer):

And we have the next result:

Step 2
Duplicate the layer (right click on the layer in the Layers Tab and choose Duplicate Layer) which contain the picture and flip the picture horizontally on the new layer. To do this step select Edit > Transform > Flip Horizontal. Move the picture in the new position like here:

Step 3
Make a selection like the next one and select the layer that is above the layer “background” by using CRTL+C, CRTL+V to copy and paste the selected area:

Move the new layer above the layer “layer 1 copy” in the position like here:

Step 3
With a small brush like “soft rounded 64 pixels” delete the new picture to make the header more realistic:

Step 4
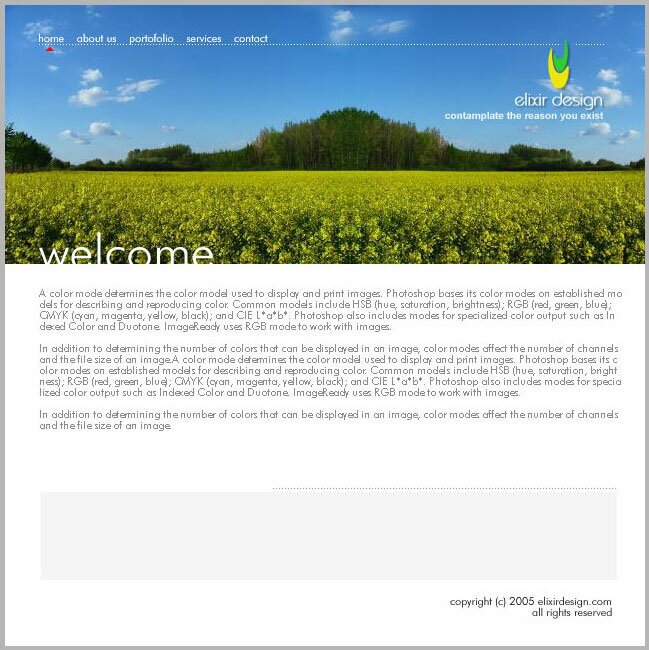
Ok. Now we have the header of our site. What we’ll do now is to apply some kind of elements to our site like a logo, some kind of text or menu buttons. Here is my result:

Step 5
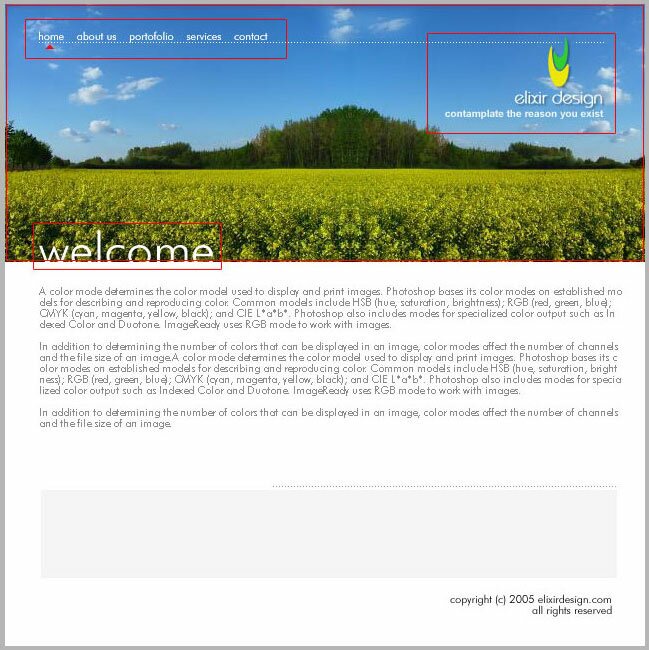
Now we’ll slice the layout to prepare it for the HTML implementation. Take a look around the areas which interest us: the header is most important, the rest of our elements, like the text or others, will be implemented the HTML tags and CSS:

Step 6
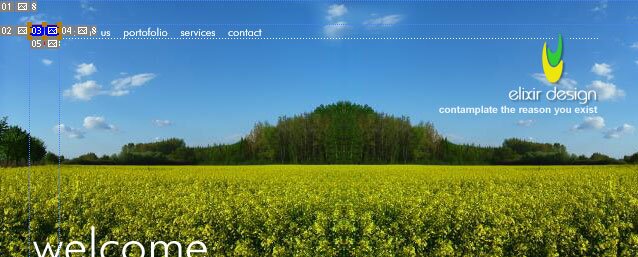
Take the Slice Tool (you can find this tool in the Tools Tab) and make a selection like here:

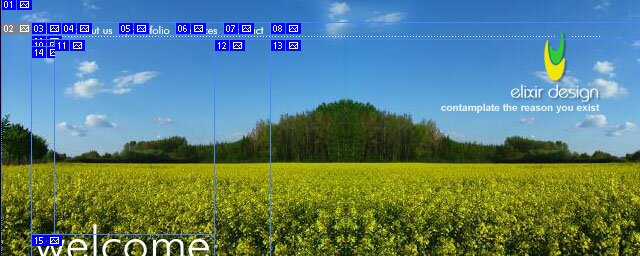
Continue with the next menu button and the other layout elements and your result should be something like this:

Step 7
After you have sliced all the areas which interest us, export them using File > Save for web. In the new window that appears, select the slices one by one, using the Slice Tool, and set the proprieties for export:

Do this step for every slice, and then using the SHIFT+CLICK select all the slices for export. Select Save and in the new window make the next settings for the export settings:

Now you have the pictures for your site, you have the site design and using a program like Macromedia Dreamweaver or Adobe GoLive (or others programs of course; this two are simple to use for a beginner), you can make a nice site for your company ![]() or for personal use. If you don’t know how to make the implementation please check the Layout Design And Implementation tutorial to learn how to do this.
or for personal use. If you don’t know how to make the implementation please check the Layout Design And Implementation tutorial to learn how to do this.
Filed under Photoshop Tutorials

