Step 1
Save on your computer the next pictures: “initial-picture1.gif” and “initial-picture2.jpg”.


Step 2
Create a new document in Adobe Photoshop with a gray background and import the pictures like this: the picture with the girl first and then the picture with that waves.

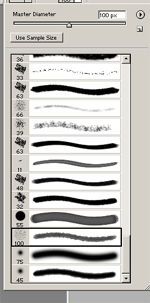
Set the Blending modes for layers in the Layers Tab for layer wave to “Soft Light”. Using a Rough Round Bristle brush (Brush Tool in the Tab Tool) delete an area around the girl picture:


Step 3
Set the “Opacity” to 50% for the layer “wave” (in the Layers Tab) and create a new layer before the layer “wave”. Make a rectangle in this layer with the background color “#67551F”. Set Blending modes for layers to “Color”. The result should be:

Step 4
Select the layer “background” and add a new layer. Draw a rectangle in the your new layer with the color “#F9E7B1”. Add Layer Style in the Layers Tab and select “Drop Shadow” with the next settings:

Now you have a nice old picture effect:


Filed under Photoshop Tutorials

