Step 1
Create a new document in Adobe Photoshop with the dimension 400x400 pixels and white background. Draw a rectangle with a very light grey color:

Step 2
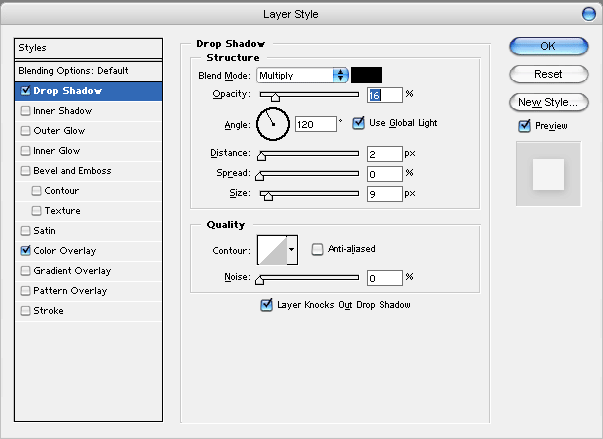
Now we’ll add some effects on this rectangle. First we add the “Drop Shadow” effect. To do this select Layer > Layer Style > Drop Shadow. When applying this effect set the next settings in the window which appears:

And an intermediary result:

Step 3
Select Layer > Layer Style > Inner Shadow and apply the effect with the next settings:

And another intermediary result:

Step 4
Duplicate the layer using right click in the Layers Tab and selecting Duplicate Layer. Set the color to the new layer to a light blue (select Layer > Layer Style > Color Overlay and set the color in the settings window that appears to a light blue). In the Layers Tab set the “Blending Mode for this Layer” to “Color Burn”. Your result should be something like this:

Step 5
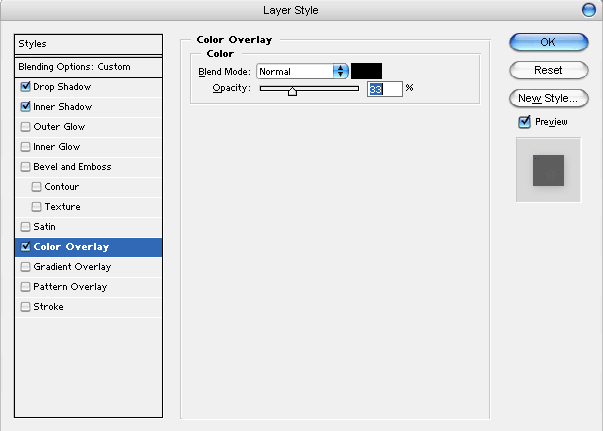
Duplicate the new layer and set the color overlay settings like here:

And the result:

Step 6
On the new layer make a selection like here:

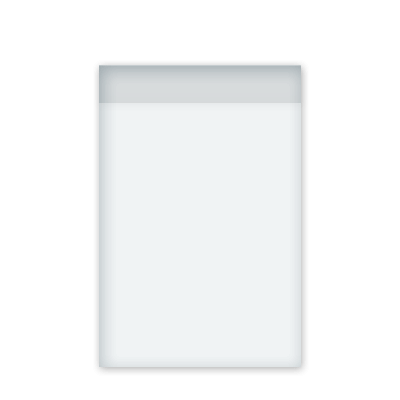
Use the DEL key to delete the selected area:

Step 7
Apply other elements to your box like some bullets or text and this is the final result:

Filed under Photoshop Tutorials

